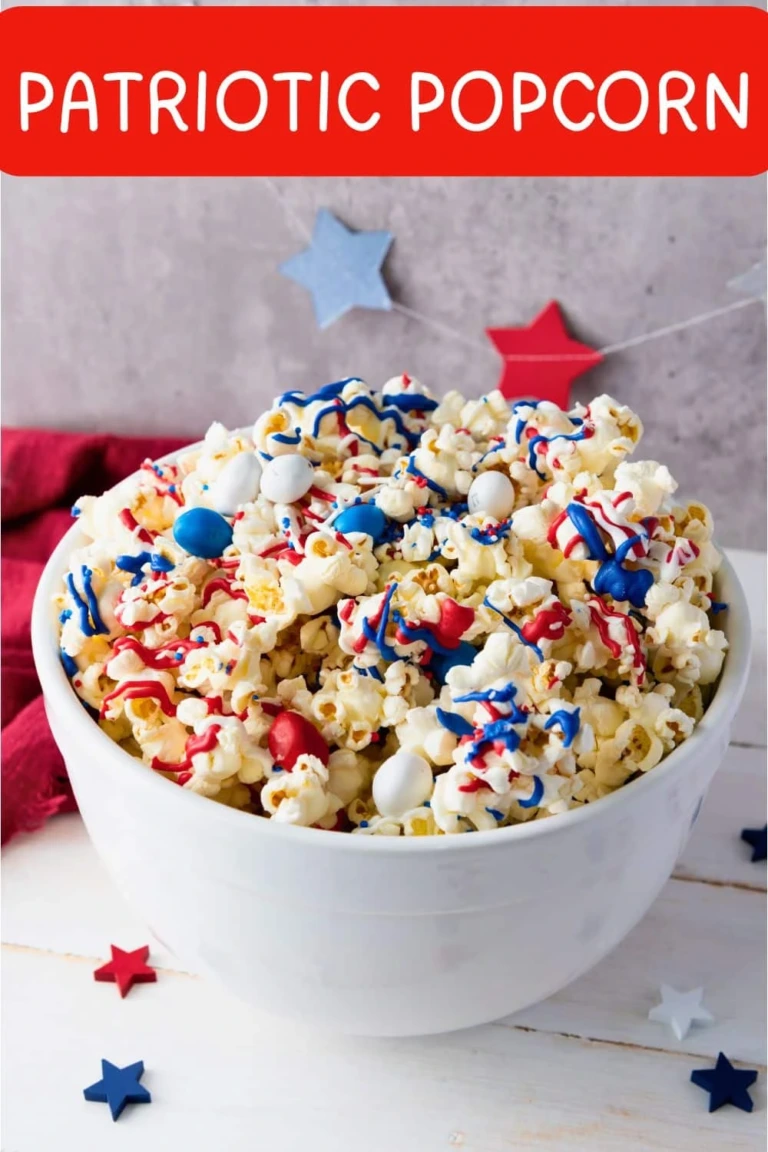
Red, White, and Blue Chocolate Bark Recipe (Easy Patriotic Dessert)
Red, white, and blue chocolate bark is a colorful, no-bake dessert that brings a festive touch to summer celebrations. Made with layers of semi-sweet chocolate and creamy white chocolate, then decorated with red, white, and blue candy swirls, this treat looks beautiful and tastes delicious.
Whether you’re preparing desserts for the Fourth of July, hosting a Memorial Day gathering, or planning a summer barbecue, this chocolate bark is an easy option that requires just a handful of ingredients.
The best part is that you can prepare it ahead of time, customize the toppings, and break it into bite-sized pieces whenever you’re ready to serve.
Why You’ll Love This Summer Chocolate Bark Recipe
There are plenty of reasons to add this colorful chocolate bark to your summer dessert list:
- No baking required: Everything comes together using a microwave and refrigerator, so you don’t need to turn on your oven.
- Festive appearance: The combination of red, white, and blue makes each piece perfect for patriotic celebrations.
- Simple ingredients: Chocolate chips, candy melts, and a few decorative toppings are all you need.
- Easy to customize: You can change the candies, sprinkles, and chocolate varieties to match your party theme.
- Make-ahead friendly: Prepare the bark in advance and keep it refrigerated until serving time.
- Great for sharing: Break the finished chocolate into different sizes for dessert platters, party favors, or individual treats.
How to Make Red, White & Blue Chocolate Bark
This recipe creates a beautiful layered chocolate dessert with colorful decorations on top. You’ll start with a semi-sweet chocolate base, add a layer of white chocolate, and finish with decorative candy melts and festive toppings.
Ingredients for Patriotic Chocolate Bark

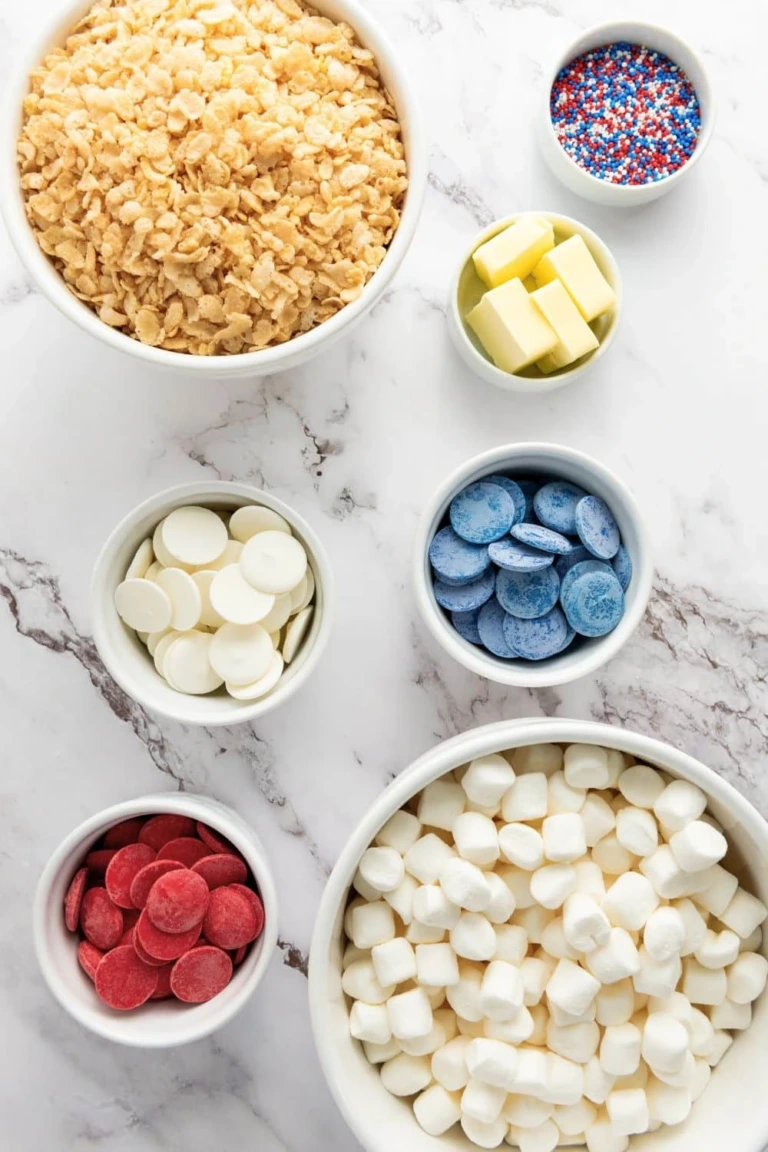
Gather these ingredients before getting started:
- 2 cups white chocolate morsels
- 2 cups semi-sweet chocolate morsels
- 1/2 cup red candy melts
- 1/2 cup white candy melts
- 1/2 cup blue candy melts
- 1 tablespoon red, white, and blue star sprinkles
- 1/4 cup red, white, and blue M&Ms
Equipment needed:
- 13 × 9-inch baking tray
- Parchment paper
- Microwave-safe bowls
- Silicone spatula or spoon
- Toothpick or wooden skewer
- Microwave
Step by Step Directions
1. Prepare Your Tray
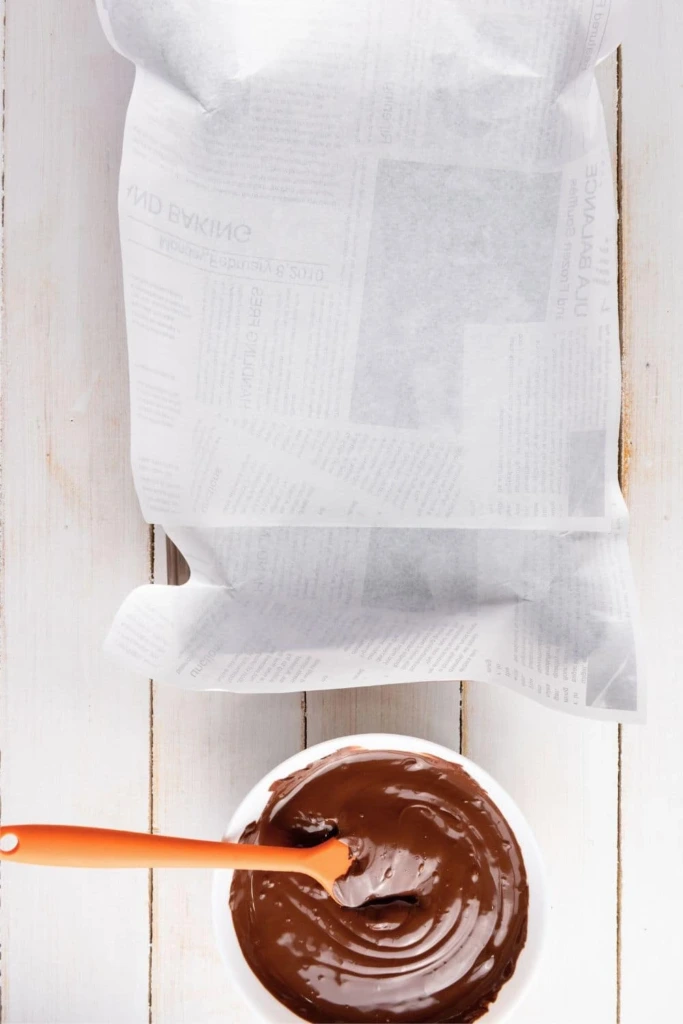
Start by preparing a 13 × 9-inch baking tray. Cut a piece of parchment paper large enough to cover the bottom and extend slightly over the sides.
Press the paper into the corners so it stays in place. Leaving a little extra parchment along the edges will make it easier to lift the finished chocolate bark out of the tray.
Keep the prepared pan nearby while you melt the chocolate.
2. Melt and Pour the Semi-Sweet Layer
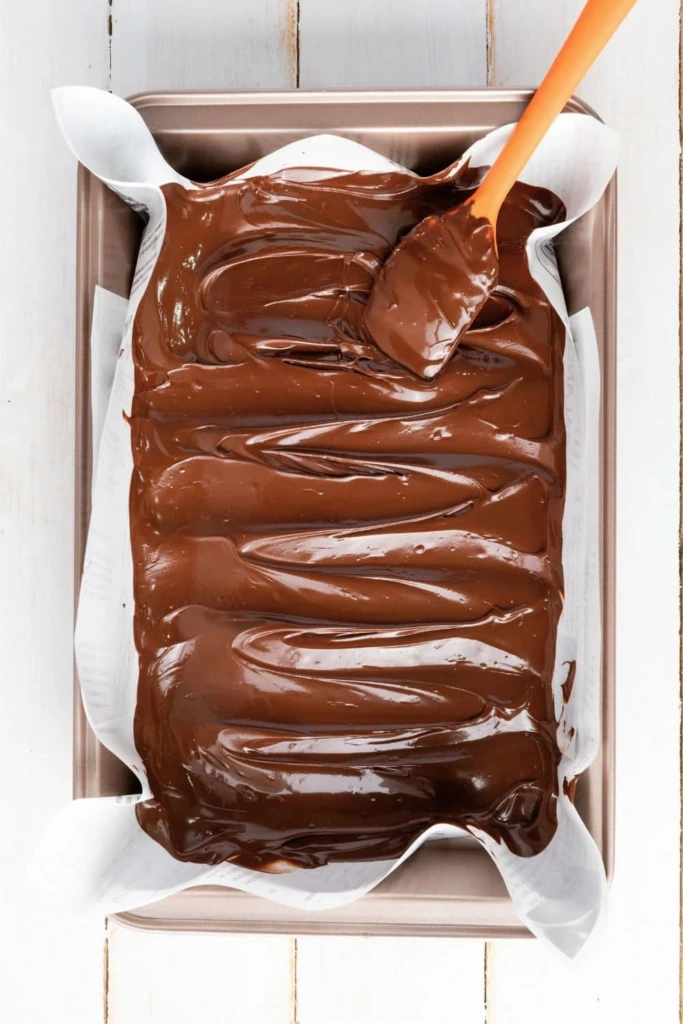
Place the semi-sweet chocolate morsels in a microwave-safe bowl. Heat them in 30-second intervals, stirring thoroughly after each round.
Continue until the chocolate becomes completely smooth. Avoid overheating, as chocolate can become thick or grainy when exposed to too much heat.
Pour the melted chocolate into your prepared tray. Use a spatula to spread it into an even layer, reaching the corners.
Place the tray in the refrigerator until the chocolate has become firm enough to support the next layer.
3. Add the White Chocolate Layer

Add the white chocolate morsels to another microwave-safe bowl. Heat in short 30-second bursts, stirring between intervals until the chocolate is melted and creamy.
Remove the chilled chocolate base from the refrigerator. Carefully pour the white chocolate over it and spread gently with a spatula.
Try to create an even surface without disturbing the darker chocolate underneath.
Allow the white chocolate layer to settle before decorating. It should remain slightly soft enough for the candy decorations to adhere during the next steps.
4. Drizzle the Candy Melts
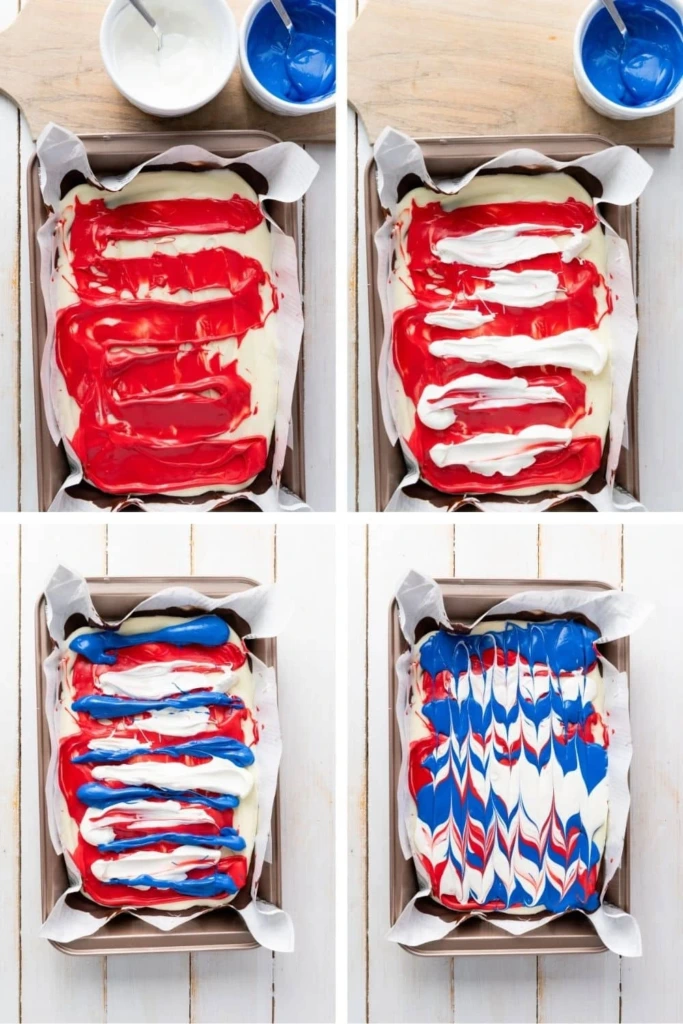
Divide the red, white, and blue candy melts into three separate microwave-safe bowls.
Melt each color individually, following the package instructions. Stir until the candy coating has a smooth, pourable consistency.
Use a small spoon or piping bag to distribute the melted colors across the white chocolate surface. Create lines, dots, or loose zigzag patterns for decoration.
Take a toothpick or wooden skewer and gently pull it through the colored candy to create attractive swirls. You can make simple waves or more detailed marbled patterns depending on the look you prefer.
Avoid mixing the colors too much. Leaving some distinct red, white, and blue sections makes the finished bark especially eye-catching.
5. Decorate and Set
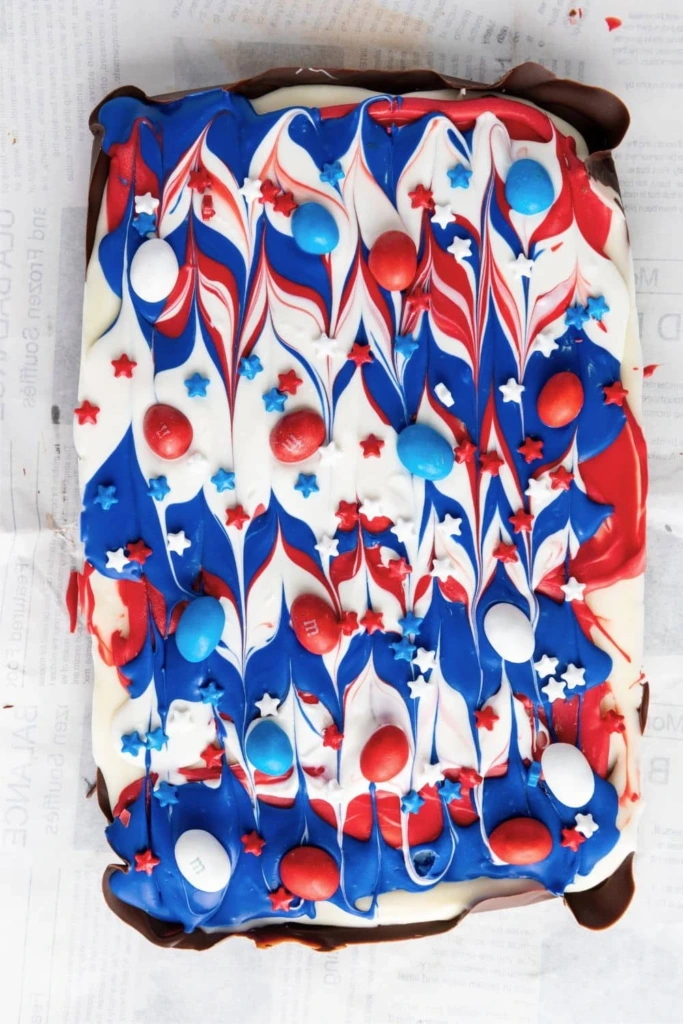
While the candy coating is still soft, scatter the red, white, and blue M&Ms across the surface.
Add the star-shaped sprinkles, distributing them evenly so every portion gets a little decoration.
Gently press larger candies into the surface if needed to help them stay in place.
Transfer the tray to the refrigerator and chill for approximately one hour, or until all the chocolate layers and decorations have completely hardened.
The finished bark should feel firm when touched and should lift away from the parchment without sticking.
6. Break and Serve
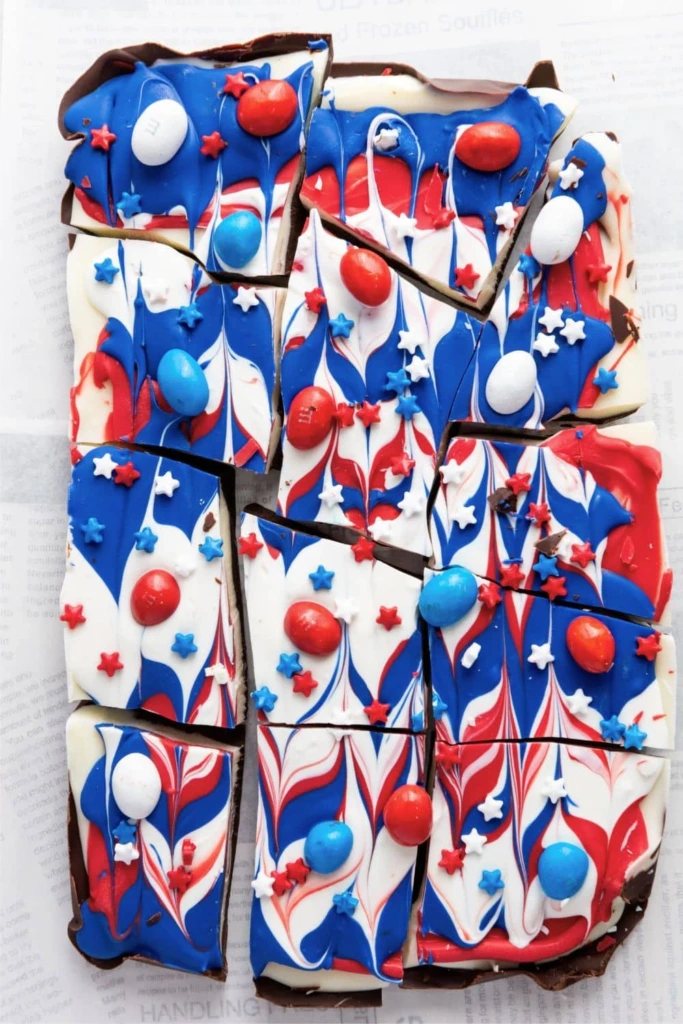
Once the chocolate has fully set, use the parchment paper to lift the entire slab out of the baking tray.
Place it on a clean cutting board. Break the chocolate into irregular pieces using your hands. For more uniform portions, use a sharp knife to cut through the bark.
Arrange the pieces on a serving plate or dessert tray.
If you’re not serving everything immediately, transfer the remaining chocolate bark to an airtight container and keep it in the refrigerator.
Tips for Success
A few simple techniques can help you achieve smooth layers, attractive decorations, and chocolate that breaks easily.
- Use completely dry equipment: Even a small amount of water can affect melted chocolate and make it seize.
- Melt slowly: Short microwave intervals with frequent stirring help prevent scorching.
- Allow the base to firm up: The semi-sweet chocolate should be stable before adding the white chocolate layer.
- Work while the candy is soft: Add the M&Ms and sprinkles immediately after decorating so they stick properly.
- Keep the layers neat: Spread each chocolate layer gently to avoid pulling up the one underneath.
- Create decorative swirls: Move a toothpick through the candy melts lightly instead of stirring everything together.
- Chill before cutting: Refrigerating the finished bark for about 30 minutes before slicing can help create cleaner pieces.
- Store properly: Keep the bark in an airtight container in the refrigerator, especially during warm summer weather.
Great For…
This red, white, and blue chocolate bark works for many occasions where a colorful dessert adds something special to the table.
- Fourth of July celebrations: A festive addition to Independence Day dessert tables and family gatherings.
- Memorial Day parties: Serve it alongside other patriotic snacks during holiday cookouts.
- Labor Day celebrations: Its summer-inspired colors make it a lovely treat for the final holiday weekend of summer.
- Patriotic birthday parties: Match the decorations with red, white, and blue party supplies.
- Summer barbecues: Add small pieces to a dessert platter for guests to enjoy after the meal.
- Picnics and potlucks: Prepare individual portions for easy sharing.
- Homemade gifts: Package a few pieces in clear treat bags or decorative boxes for friends, neighbors, and party guests.
What to Serve With This Patriotic Bark
Chocolate bark is delicious on its own, but it also fits beautifully into a larger dessert spread. Pair it with other colorful treats to create a dessert table with different flavors, textures, and shapes.
Here are a few ideas to serve alongside it:
- Firecracker Pretzel Rods: Crunchy pretzel sticks covered in sweet candy coating make a fun combination of salty and sweet.
- Independence Rice Krispie Treats: Soft, chewy cereal treats decorated with patriotic colors add a different texture to the dessert table.
- Patriotic Popcorn Recipe: Sweet and crunchy popcorn is an easy snack that guests can enjoy throughout the celebration.
- Patriotic Jell-O Cups (Non-Alcoholic): Layered red and blue gelatin with creamy white topping creates a colorful individual dessert.
You can also include fresh strawberries, blueberries, vanilla cupcakes, and sugar cookies to round out the selection.
For outdoor gatherings, keep chocolate-based desserts chilled until serving so they don’t become too soft in warm temperatures.
Have Fun Making Red, White & Blue Chocolate Bark!
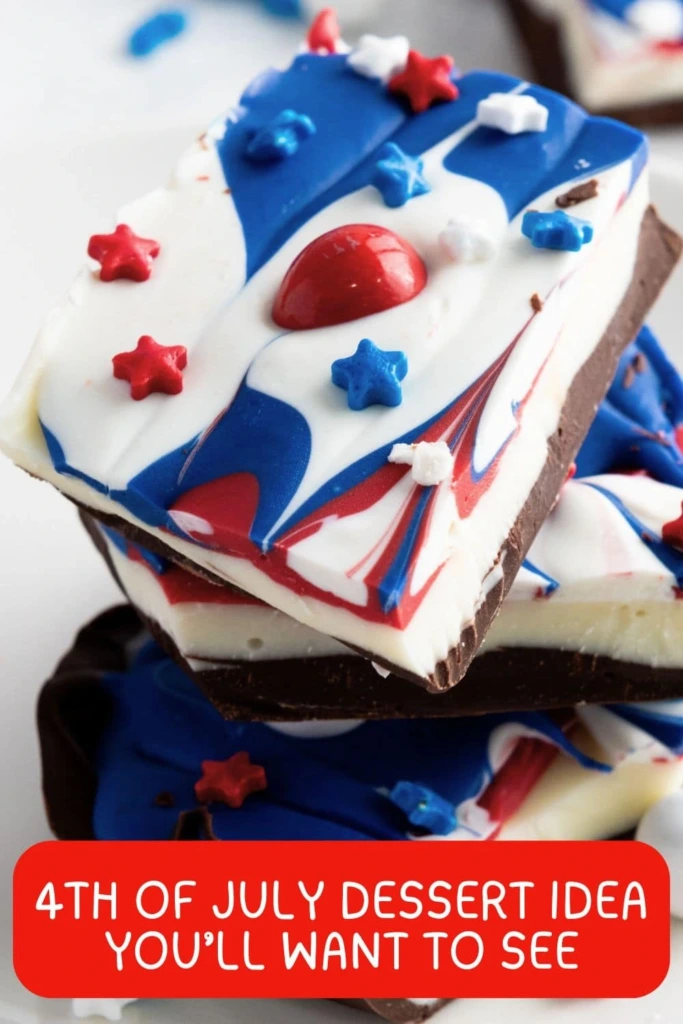
Making red, white, and blue chocolate bark is a simple way to add homemade sweetness to your next patriotic celebration. With two chocolate layers, colorful candy swirls, and festive toppings, every piece has its own unique appearance.
You can prepare it ahead of time, experiment with different decorations, and break it into as many portions as your gathering needs.
Whether you’re celebrating the Fourth of July, hosting a summer barbecue, or putting together a holiday dessert table, this easy chocolate bark is a fun treat to share with family and friends.