4th of July Rice Krispie Treats: A Fun and Festive Red, White & Blue Dessert for Kids
Make your Fourth of July celebration extra sweet with homemade red, white, and blue Rice Krispie treats. These colorful marshmallow cereal squares are easy to prepare, require no baking, and bring a festive touch to any summer gathering.
With a buttery, crispy base, a soft marshmallow texture, and three colorful candy coatings, they look beautiful on a holiday dessert table. Even better, children can help with decorating, making this recipe a fun family activity.
Whether you’re hosting a backyard barbecue, attending a neighborhood celebration, or preparing snacks for a summer party, these patriotic treats are an easy crowd-pleaser.
Why Moms Love These 4th of July Rice Krispie Treats
There are plenty of reasons to add these colorful cereal treats to your holiday menu.
- Simple ingredients: The basic recipe uses cereal, butter, and marshmallows, making it an affordable dessert without a long shopping list.
- No oven required: Everything comes together on the stovetop or in the microwave, so you don’t have to heat up the kitchen during summer.
- Fun for children: Little ones can help add sprinkles, decorate the squares, and choose their favorite patterns.
- Great for preparing ahead: You can make the treats before your celebration and decorate them when you’re ready.
- Easy to customize: Change the colors, shapes, and toppings to match your party theme or personal preferences.
Another advantage is that these treats are easy to portion. Cut them into small squares for children or larger rectangles for guests who want a more generous dessert.
How to Make Independence Rice Krispie Treats
Preparing these patriotic Rice Krispie treats is straightforward. First, make a soft marshmallow cereal mixture, allow it to set, and finish with colorful candy decorations.
Ingredients You’ll Need for this recipe
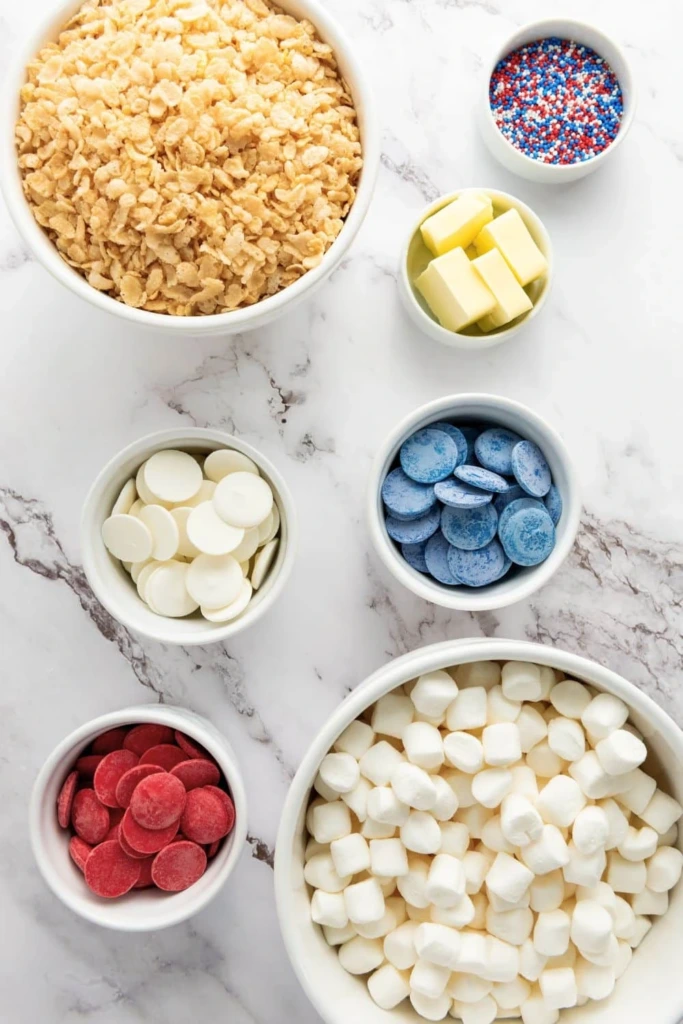
Here is everything you need to prepare one batch of festive Rice Krispie treats.
- 5 cups Rice Krispies cereal
- ¼ cup unsalted butter
- 4 cups mini marshmallows (approximately 10 ounces)
- ½ cup red candy melts
- ½ cup white candy melts
- ½ cup blue candy melts
- Patriotic sprinkles for decoration
A few ingredient tips:
Choose fresh marshmallows for a soft, chewy texture. Older marshmallows can become dry and may not melt as smoothly.
Mini marshmallows are particularly convenient because they melt quickly and evenly. If you’re using regular-sized marshmallows, allow a little extra time for melting.
For the decoration, candy melts are easy to work with because they create a colorful coating once they cool. You can also use colored white chocolate or other suitable confectionery coating.
Step By Step Guide
Follow these instructions to make your red, white, and blue treats from scratch.
1. Prepare the Marshmallow Mixture
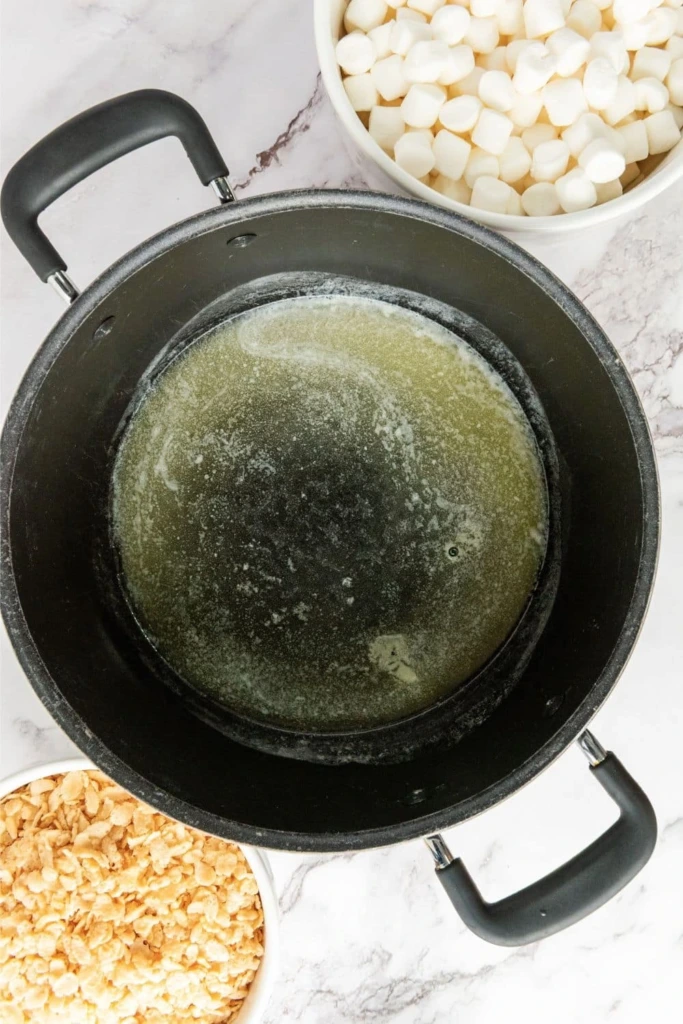
Place a large saucepan over low heat and add the butter. Once melted, add the mini marshmallows.
Stir continuously until the marshmallows become smooth and completely melted. Remove the saucepan from the heat and gently fold in the Rice Krispies cereal.
Continue mixing until the cereal is evenly covered with the marshmallow mixture.
2. Transfer and Allow to Cool
Line a 9-by-13-inch baking pan with parchment paper or lightly grease it with butter.
Transfer the cereal mixture into the prepared pan. Use a lightly buttered spatula or clean hands to spread it evenly.
Press gently rather than packing the mixture too firmly. This helps the finished treats remain soft instead of becoming hard and dense.
Allow the mixture to cool and set for approximately 45 to 60 minutes. Refrigeration can help speed up this process.
3. Cut into Individual Portions
Once the cereal mixture has firmed up, carefully lift it from the pan using the parchment paper.
Place it on a cutting board and slice it into squares or rectangles with a lightly greased knife.
You can make smaller pieces for children’s snack plates or larger portions for a dessert buffet.
4. Prepare the Colorful Candy Coatings
Divide the red, white, and blue candy melts into three separate microwave-safe bowls.
Heat each bowl according to the manufacturer’s instructions, stirring between heating intervals until the coating becomes smooth.
Avoid overheating the candy melts, as excessive heat can make them thick or difficult to drizzle.
5. Decorate with Red, White, and Blue
Arrange the cereal squares on parchment paper.
Using a spoon or piping bag, drizzle the melted red, white, and blue coatings over the individual pieces. You can create stripes, zigzags, or overlapping lines for a colorful patriotic appearance.
Add sprinkles while the candy coating is still wet so they stick properly.
This is a wonderful step for children to participate in. Give them a few different sprinkle options and let them decorate their own treats.
6. Let the Decorations Set
Leave the decorated squares at room temperature until the candy coating becomes firm.
If you’re short on time, place the tray in the refrigerator for approximately 10 minutes.
Once everything has set, transfer the treats to a serving plate or an airtight storage container.
Variations & Mom Hacks
One of the best things about Rice Krispie treats is how easily you can change their appearance and presentation.
Here are some creative ideas to try:
- Make patriotic treat pops: Insert wooden popsicle sticks into the cereal mixture before it completely sets. Once firm, decorate each piece with colorful candy coating.
- Create festive shapes: Use star-shaped cookie cutters to make treats that fit your Independence Day theme. Lightly grease the cutters to make shaping easier.
- Try different sprinkle combinations: Combine star-shaped sprinkles, colorful sugar crystals, and tiny decorative pieces for extra texture.
- Add a chocolate finish: Dip one end of each square into melted candy coating instead of decorating the entire surface.
- Prepare them in advance: Make the cereal base a day before your event and keep it covered. Add the decorative coating closer to serving time if you want the freshest presentation.
- Keep them soft: Avoid pressing the cereal mixture too firmly into the pan. A gentle touch makes a noticeable difference in the final texture.
Storage tip: Store completely cooled treats in an airtight container at room temperature for up to three days. Keep them away from direct sunlight and excessive heat, especially during summer parties.
What to Serve With Red, White & Blue Rice Krispies
These patriotic treats look lovely on their own, but they become even more exciting when served alongside other summer party favorites.
Consider creating a colorful dessert table with a mixture of sweet, crunchy, and refreshing snacks.
Here are some delicious combinations:
- Firecracker Pretzel Rods: Crunchy pretzels covered in colorful candy coating make a fun sweet-and-salty addition.
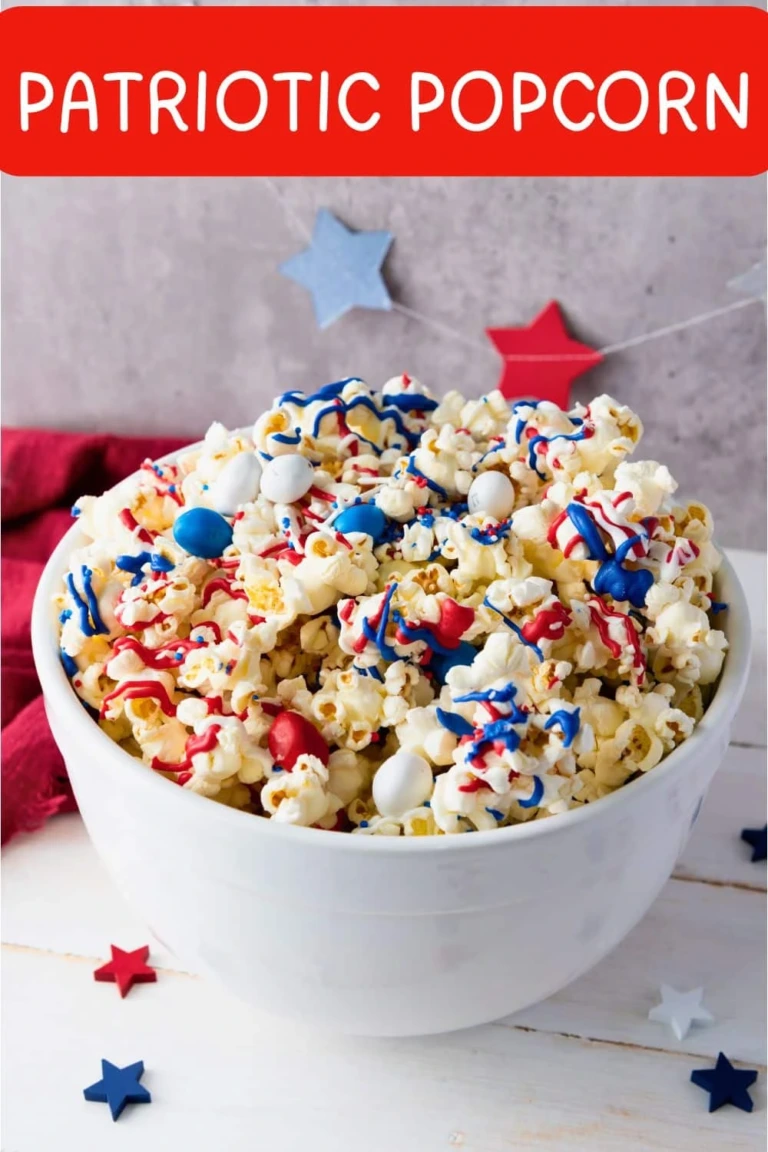
- Festive 4th of July Popcorn: Prepare popcorn with red, white, and blue decorations for an easy snack guests can grab by the handful.
- Patriotic Jell-O Cups: Layer colorful gelatin in individual transparent cups for a refreshing dessert presentation.
- Red, White and Blue Chocolate Bark: Break homemade chocolate bark into bite-sized pieces and decorate it with festive toppings.
You can also serve fresh strawberries, blueberries, watermelon slices, and chilled lemonade to balance the sweetness of the desserts.
For a party, arrange everything on a large tray with small serving plates and napkins nearby. This makes it easier for guests to enjoy a little of everything.
When to Serve These Festive No-Bake Treats
Although these Rice Krispie treats are perfect for Independence Day, their colorful appearance makes them suitable for many other occasions.
Here are some fun opportunities to prepare them:
- Fourth of July parties: Add them to your Independence Day dessert table alongside other patriotic snacks.
- Memorial Day BBQs: Serve them as an easy homemade dessert after grilled food and summer favorites.
- Summer birthday celebrations: Match the candy coating and sprinkles to the birthday party’s color scheme.
- School or daycare treat days: Prepare individually portioned squares for classroom celebrations, following the school’s food and allergy guidelines.
- Rainy-day kitchen activities: Invite your children to help mix, shape, and decorate the treats when outdoor activities aren’t possible.
You can even adapt the recipe for other holidays by changing the candy coating and decorations. The same marshmallow cereal base works beautifully for different seasonal themes.
Sweet and Simple Fourth of July Dessert for Kids
Celebrating Independence Day doesn’t mean spending hours preparing complicated desserts. These red, white, and blue Rice Krispie treats offer an easy way to make your holiday dessert table look colorful and inviting.
Their combination of crispy cereal, melted marshmallows, and sweet candy decorations makes them enjoyable for children and adults alike.
The recipe is also flexible enough to prepare ahead, customize with different shapes, and decorate according to your party theme.
Get the kids involved, bring out the patriotic sprinkles, and turn an ordinary afternoon in the kitchen into a fun summer activity.
Make a batch for your next Fourth of July gathering and enjoy a festive homemade dessert that everyone will be excited to try!